
Quicken Bill Manager: How To Set Up Quick Pay and Check Pay
Overview
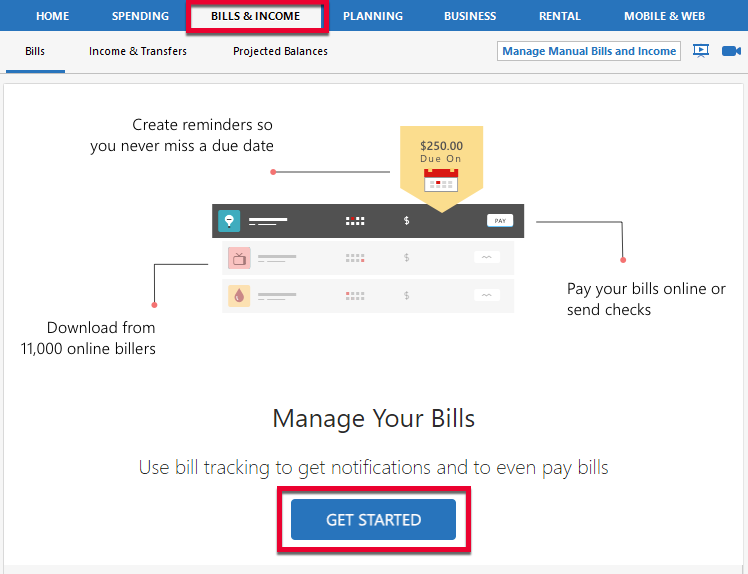
Ready to boost your bill tracking experience in Quicken? Bill Manager lets you view and pay all of your bills in one place!
Bill Manager offers two ways to easily pay your bills with Quicken:
- Quick Pay: Send electronic payments to billers (payees) who have online accounts accessible by Quicken. This includes over 11,000 billers.
- Check Pay: Send a check to anyone in the United States with an address. The check is sent through a Quicken service, so you will no longer need to print or mail checks.
You can find more information about the Quicken Bill Manager service by clicking here.
If you have already set up Quicken Bill Manager and want more information on how to make payments, click here.
Instructions
We recommend following the steps below in the order shown.
First, you will need to add an online bill
Note: If you already have online bills set up, you can move on to Enable a payment account for Quick Pay.
- Go to the Bills & Income tab, then click Get Started.
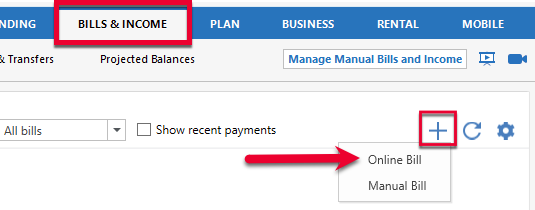
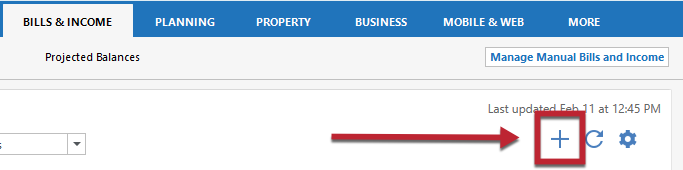
If you do not see the Get Started button, click the + (plus sign) in the upper-right corner of the Bills & Income screen and select Online Bill.
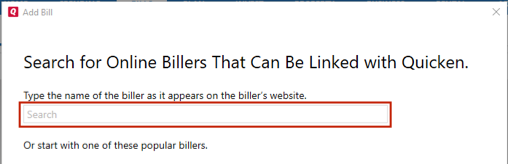
- Search for the name of the biller you wish to add.
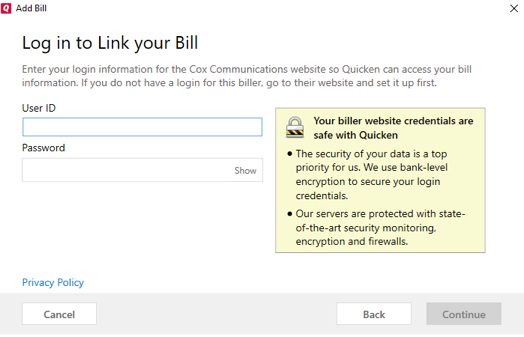
- Enter the login credentials you use for that biller's website and click Continue. Quicken will then authenticate the account and search for your bills.
- After the biller is added, a confirmation screen will follow. You can link an existing Reminder or create a new Reminder. Please note that after a biller is added, it may take some time for a new bill amount and PDF to appear in Bill Manager.
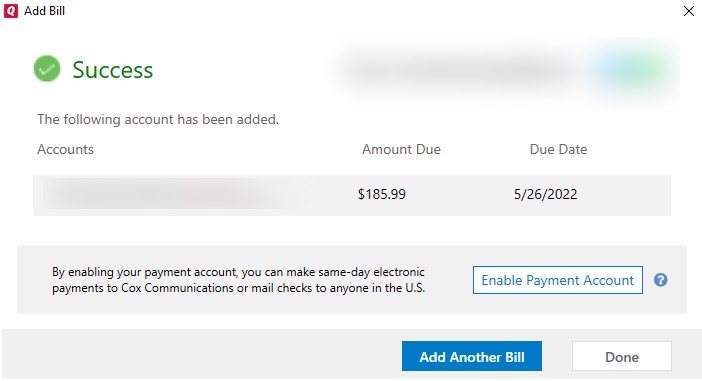
- You can then choose to add another bill or click Done to finish. You can also select to enable a payment account. If you start this process here, you can skip to Step 3 in the next section.
Second, enable a payment account for Quick Pay
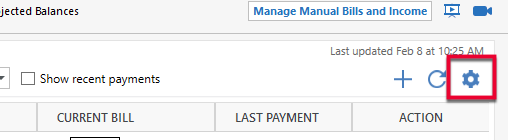
- In the Bills & Income tab, click the gear icon in the upper right.
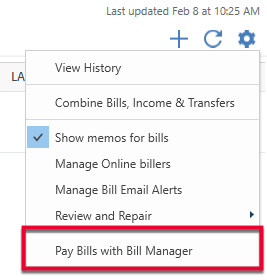
- Select Pay Bills with Bill Manager.
- Review the Terms of Use and click Agree if you want to proceed.
- Complete the verification process, then click Enable Accounts.
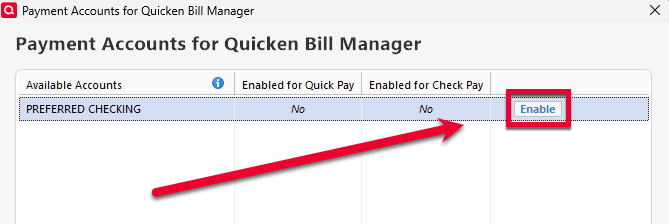
- In the Payment Accounts for Quicken Bill Manager screen, select the account (usually checking) that you want to use to pay bills with and select Enable.
- In the Enable Payment Account screen, fill out the necessary information.
- Check the box at the bottom of the screen.
- Click Enable Account.
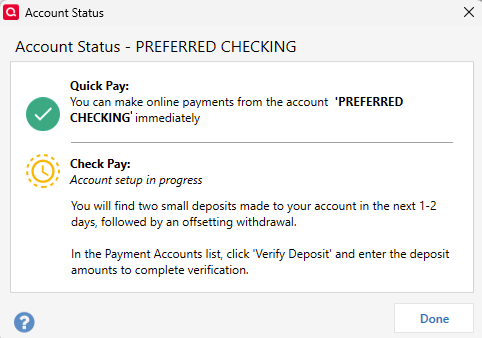
Once you have entered your payment account information, you’ll see a verification screen letting you know that you can now use the account for Quick Pay payments.
If you wish to only use Quick Pay: Click Done, then click Done again in the Payment Accounts for Quicken Bill Manager screen to return to the Bills & Income tab and start paying bills with Quick Pay.
If you also want to use Check Pay: There is a verification process to enable a payment account for Check Pay. This process calls for the verifying of two micro-deposits (between $.01 and $.99) that will be made to your account. The payments may take up to three days to appear. Follow the steps below to complete the Check Pay verification.
Third, finish setting up Check Pay (optional)
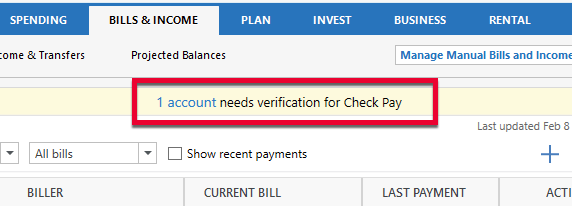
- Within the next three days, two micro-deposits will appear in your account. Check your register for the micro-deposits (they will display the payee name, Sp Quicken). When they appear in the register, go to the Bills & Income tab and click the Account needs verification message above the billers list. Please note, these micro-deposits will be withdrawn by Check Pay at a later time. However, the amounts will still be valid for the verification process.
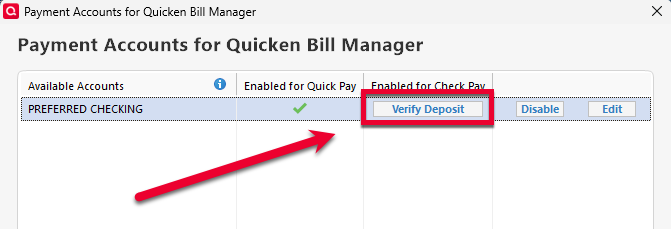
- Select Verify Deposit.
- Enter the deposit amounts and click Verify Account.
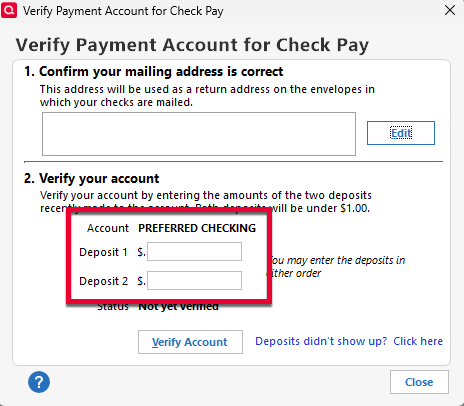
- Click Done.
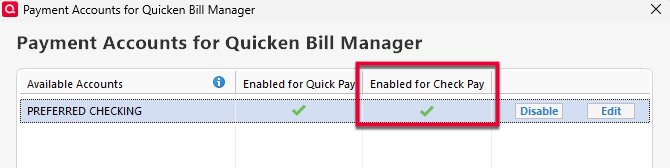
If your amounts are correct, your account will now be enabled for Check Pay. The Payment Accounts for Quicken Bill Manager screen will also display confirmation that the account is enabled for Check Pay.
Adding a manual bill for Check Pay
If you can't access your bill online, or would prefer to track your bill manually, you can add a manual bill. For a manual bill, you supply both the billing amount and the billing date/interval. You can then pay the manual bill with Check Pay.
- Select the Bills & Income tab.
- Click + (plus sign).
- Select Manual Bill.

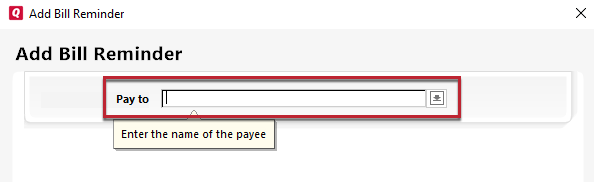
- In the Add Bill Reminder screen, enter or select the name of the payee in the Pay to field and click Next.
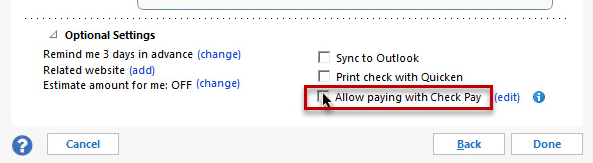
- Select Allow paying with Check Pay.
- Provide the following information in the Edit Payee screen:
- Payee: The name of the person or biller receiving the payment. This should already be filled in.
- Account Number: This is the account number of your payee. This field is optional but is helpful when making payments to an account.
- Address: The address where the check will be delivered to the payee.
- City, State and Zip: These fields need to be entered correctly to deliver the check to the payee.
- Verify the address you have given. Review your address and select Done.
- Click Done on the Add Bill Reminder screen.
- The new bill will appear on the Biller list with the default action as Check Pay.
Other
If you want to print your own checks using Quicken, click here.
If you need more information on Bill Manager plans and pricing, click here.