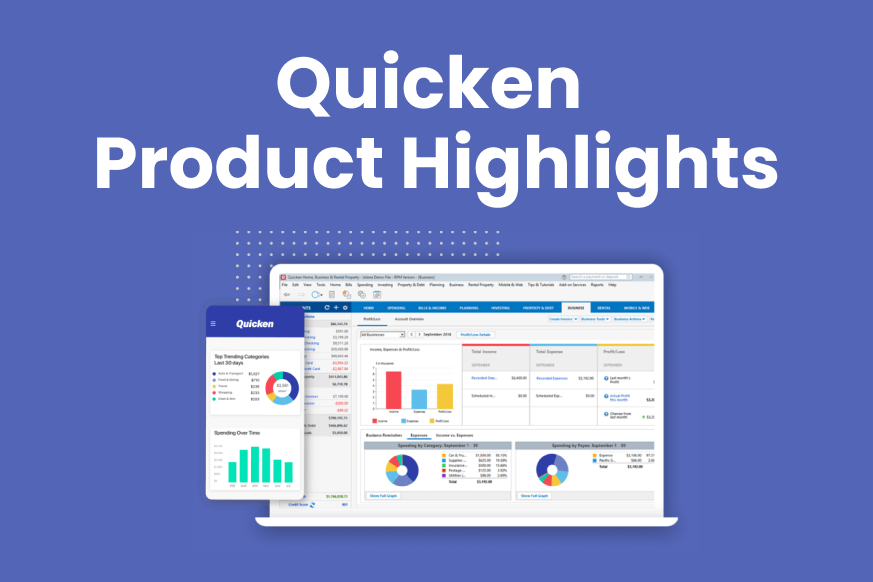
Quicken Product Highlights October 2021
Making the most out of Quicken Preferences
While Quicken works great right from the start, you might be surprised to learn just how much you can customize Quicken to suit your needs using Preferences, which you access from your Edit menu.
Mobile & Web
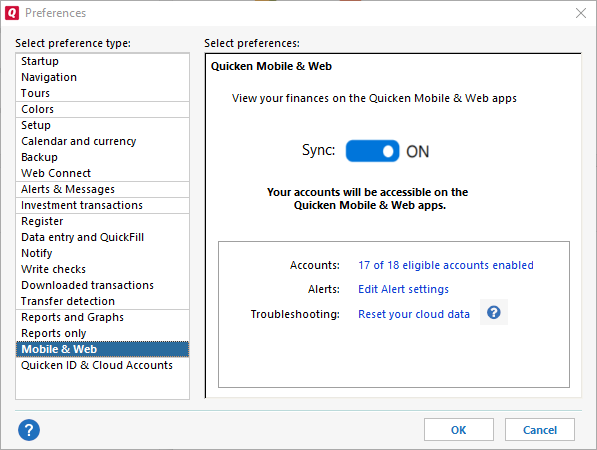
One key area of the preferences you should pay attention to is Mobile & Web. If you are using our Quicken companion services, you’ll want to be sure that you have turned Sync on in your Preferences so that your accounts will synchronize between your desktop software and the companion tools. You’ll also want to check on your Accounts to be sure you are sharing your accounts across all platforms. You can also use these preferences to troubleshoot your connection with the Quicken Cloud.
Startup Preferences
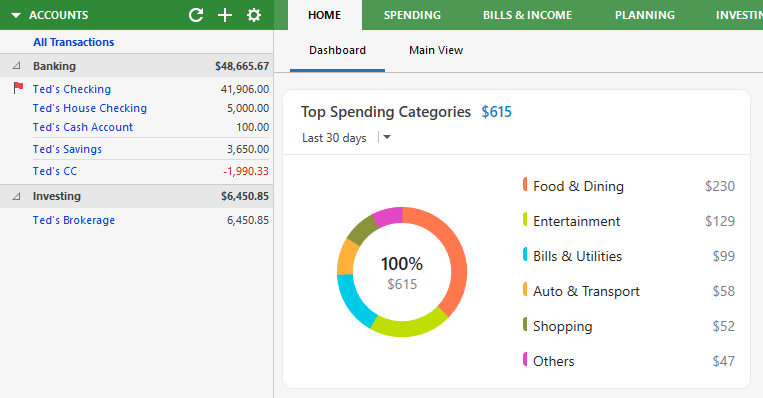
The Startup preferences let you pick a Startup Location. This is the tab that you will see on the main screen when you first start the program. This defaults to your Home page, but many people prefer to start by seeing one of their bank or brokerage accounts. You can open on any tab though, such as Spending or Bills & Income.
You can also select the option to Download transactions when Quicken starts. This is a great way to be sure that you are looking at all your latest financial information every time you start Quicken.
Navigation Preferences
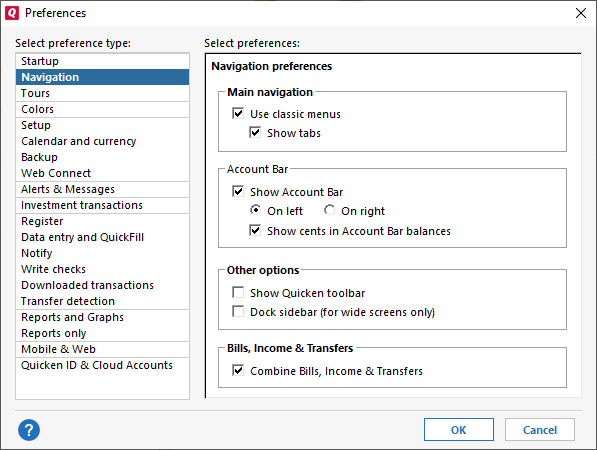
There are many options available in your Navigation preferences that can improve your Quicken experience. The first is to choose whether to use Classic Menus. Classic Menus has a much more comprehensive list of menu options than standard menus, and many users prefer to have Classic Menus.
You can also choose to show or hide many navigation elements, such as the Account Bar, the Quicken toolbar, and the Dock Sidebar. All of these are useful elements, but many people prefer a less cluttered look, so they eliminate the screen elements they don’t normally use.
Keep in mind that you can try these changes in the preferences and immediately see the difference on your Quicken screen. This makes it easier to decide whether to keep those changes.
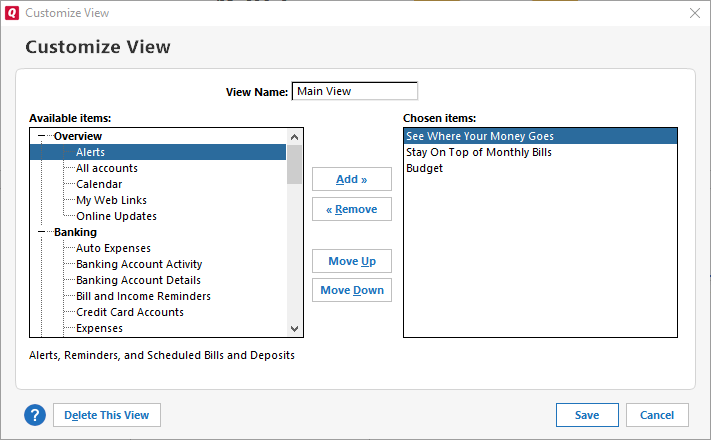
You can get even more control of what you show or hide at any time using the Main View menu. Go to Home → Main View, then select the Gear icon and select Customize. The Customize View window will appear.
Colors Preferences
These preferences let you further customize the look of Quicken by changing many of the colors. You can change the Background Color, the Graph and Chart Colors, and the and the Tab color scheme. Changing the Tab color scheme can really make a difference in the look of Quicken. You can replace the standard blue color with Green, Purple, Tan, or several other colors. Customizing colors is especially useful if you have issues with color blindness or want to improve the readability of the interface on your monitor.
Register
You can control many aspects of your Register using preferences such as your Register Fields, and Transaction Entry. One of the key preferences is your Register row spacing. Register row spacing gives you control over how much space there is between transactions in your Register. You can choose from the Standard amount of spacing that is the default or between Compact (to see more transactions) or Comfortable (to get more space and make the register feel less crowded). If you like, you can change the Fonts and Colors of the transactions in your register.
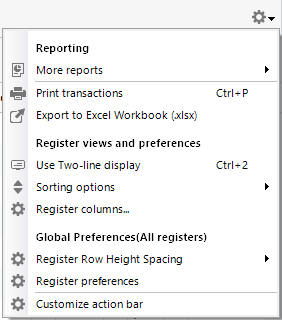
There are other ways you can alter the look of the register as well. To make these changes, go to the Gear icon in your Register. From there you can select Use Two-line display. This adds an extra line to each transaction entry, giving you more space to view your Memo and other longer information. You can also use Register Columns to determine what columns to view in your Register. For example, some customers write many checks and want to see the Check # column. Other customers make most of their transactions online or through credit/debit cards, and have no reason to use that field. Some customers use Tag frequently, while others don’t need it. You can choose the columns you want to see.
Data Entry and QuickFill

If you want to control the way you enter your transactions, the Data Entry and QuickFill preferences help you control the process. There are many preferences you can adjust, controlling how you move between fields, whether to complete fields using previous entries, and whether to Capitalize payees and categories. The QuickFill rules also give you control over whether you Automatically memorize new payees, and whether to Add Address Book QuickFill items to Memorized Payee List. These give you a lot of control over what payees will be remembered and suggested by Quicken.
You can go to the Memorized Payee List in your Tools menu to see your memorized payees. From there you can edit individual payees to set the Address, Category, Tag, Memo, and other information for your payee. You can also set the following preferences for an individual payee.
- Never auto-categorize this payee during Quickfill or downloads
- Lock and leave this payee unchanged when it is edited in the register
- Show this payee in the Calendar Memorized Payee list.
Notify
The Notify preferences let you choose what events you’ll get notified about in Quicken while you work. These notifications concern things such as out-of-date transactions, reconciliation, check number duplication, and changing accounts for a transaction. You can remove these notifications, or add some that are turned off by default, such as When entering uncategorized transactions.
Downloaded transactions
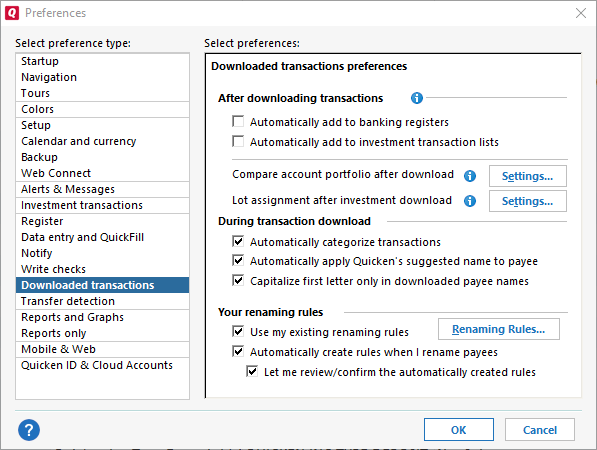
You have many options for how Quicken works with the transactions you download from your financial institution. After downloading your transactions, you can instruct Quicken to automatically add those transactions to your banking register/investment transaction lists. You can set other preferences for how your investment transactions will be handled as well.
You have several options for how your transactions will appear. You can choose to Automatically categorize transactions, Automatically apply Quicken’s suggested name to payee, and to Capitalize first letter only in downloaded payee names.
You can also set whether to Use my existing renaming rules and to Automatically create rules when I rename payees.
More preferences
There are many more preferences you can control in Quicken, such as Setup, Calendar & Currency, Backup, and Write Checks. Take the time to explore your preferences to see what else you can set to work the way you want to work.
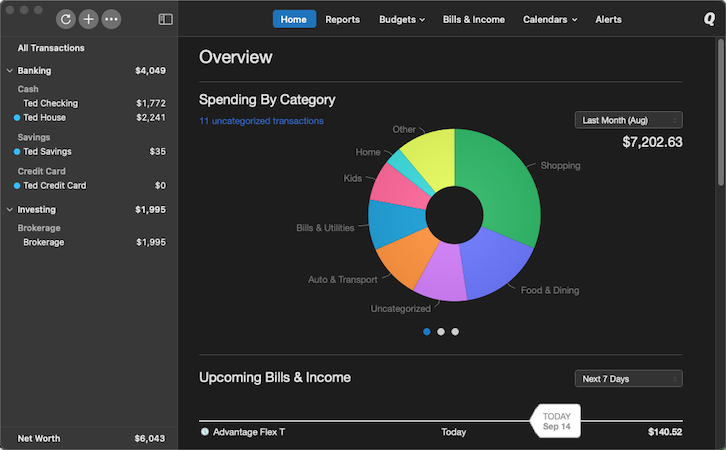
Try out Quicken for Mac’s new Dark Mode and Early Access
Both Quicken’s design team and development team have been working hard to bring you Dark Mode in Quicken for Mac.
What is Dark Mode?
It’s a visual design of the software that uses a darker color palette that is more appropriate for night-time and low-light environment. Apple began implementing this across both the Mac and their devices, and it has proved to be very popular. Some people even prefer it in daylight environments.
Quicken Mac was created before there was anything called Dark Mode in macOS so there’s a lot of screens that we need to update. Adding Dark Mode requires extensive refactoring of our design and programming. You are getting to try out an early access version as we continue to refine and roll out this much-requested feature.
This version is optional and is still in testing. There may be small parts of the interface in which the colors don’t perfectly match yet, and there may be other unintended issues that we are still working through. You can choose to have Quicken match your system appearance or to always use a light or a dark appearance.
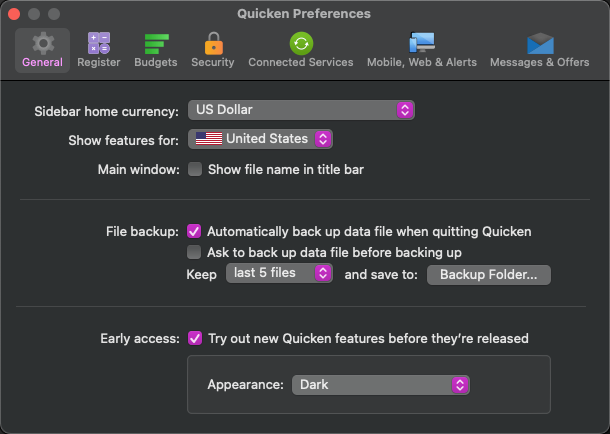
Because we are still perfecting the feature, we are introducing it to you using Early Access, which in itself is a new offering. Early access is a way for you to try out new features that are still in development. You can opt in or out of Early Access by going to Quicken menu → Preferences and enabling Early Access.
While Early Access is being used to present you with Dark Mode at this time, we look forward to using Early Access in the future as we introduce other features to the product. You can opt into these features by going to Quicken > Preferences and enabling Early Access. Keep in mind that while we always welcome your feedback, early access features are in development and expected to have bugs and issues that are being worked on.
Quicken has made the material on this blog available for informational purposes only. Use of this website constitutes agreement to our Terms of Use and Privacy Policy. Quicken does not offer advisory or brokerage services, does not recommend the purchase or sale of any particular securities or other investments, and does not offer tax advice. For any such advice, please consult a professional.


