How to Set Up Your First Account
Follow these simple instructions and you’ll be up-and-running with Quicken in less than 10 minutes. Seriously!
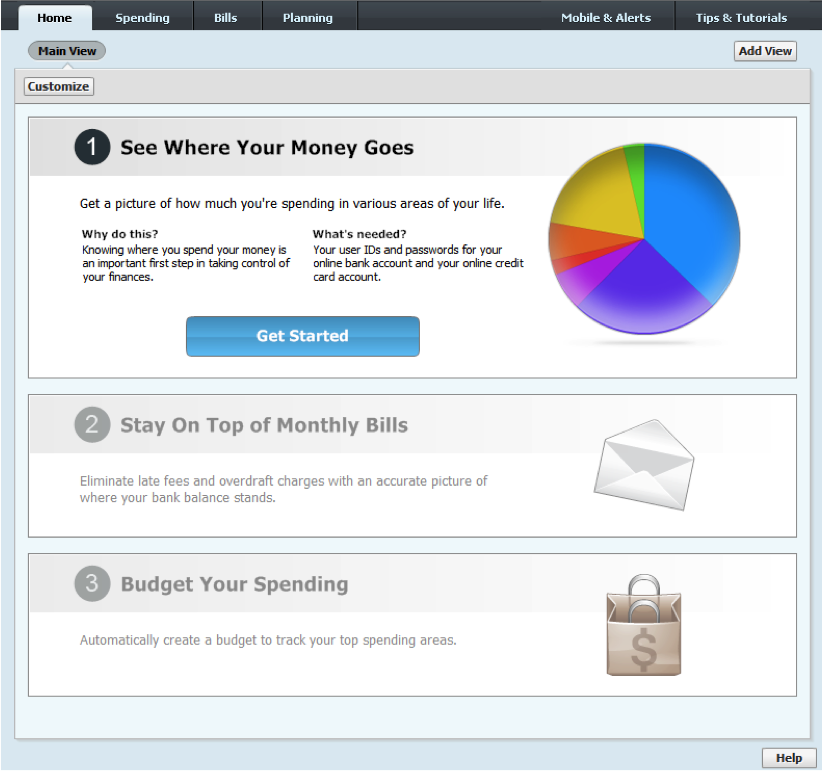
1. Click the Home tab at the top of the Quicken window.
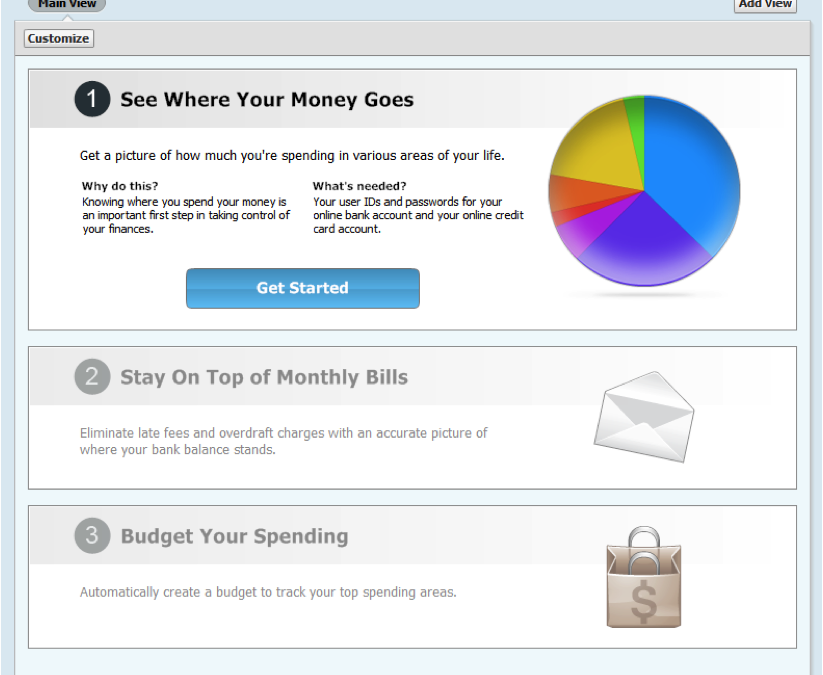
2. Click Get Started in the See Where Your Money Goes section.
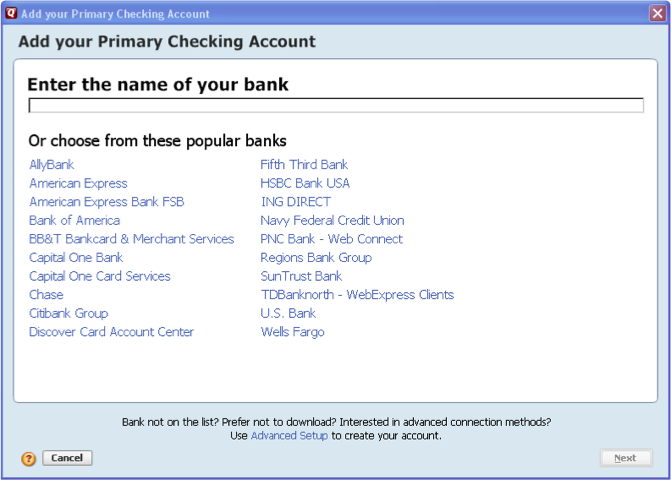
3. Enter or choose the name of your bank.
This is the bank where your primary checking account is located.
Your primary checking account is the one you deposit your paycheck into and pay your bills out of.
4. Enter your bank login information. For most people, this is the same login they use for their bank’s website.
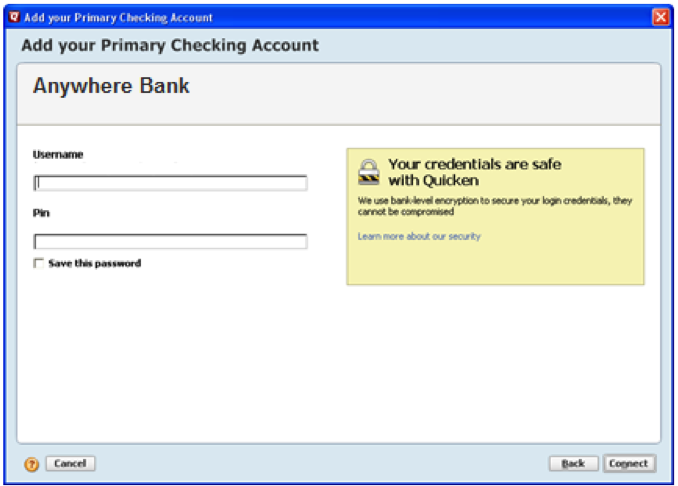
5. Click Connect.
Quicken begins a conversation with your bank to discover what accounts you have. This can take about a minute to complete.
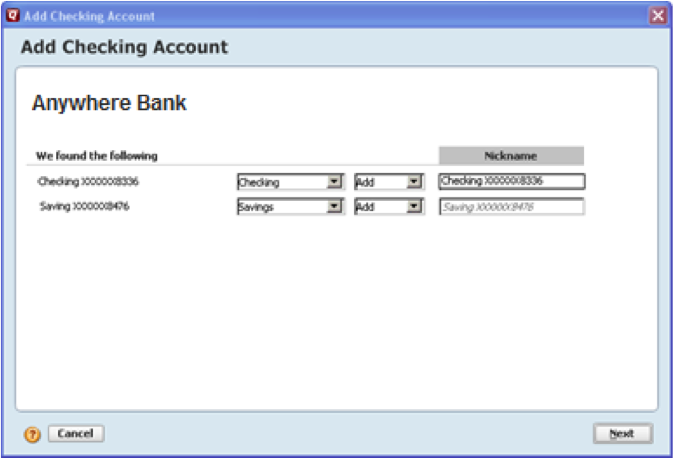
6. Set preferences for your Quicken accounts.
Skip this step if you don’t see this screen.
If you feel like it, give nicknames to your accounts. These names will be used in the Quicken interface and reports.
If there are accounts you don’t want to add to Quicken, select Ignore instead of Add.
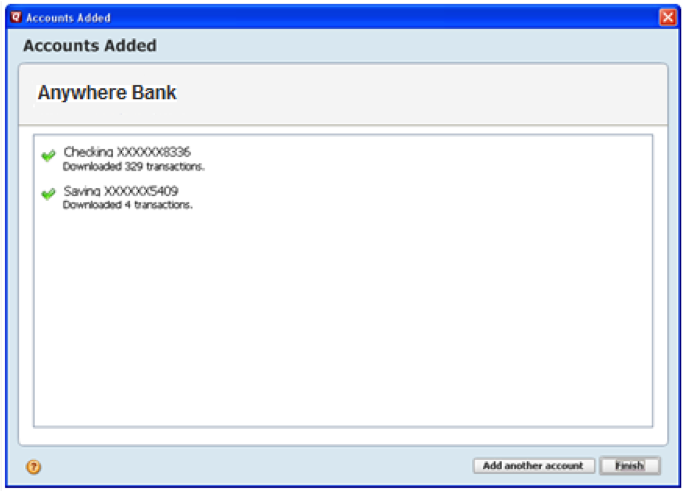
7. Quicken creates your accounts and downloads your transactions.
Congratulations! If you’ve been following along, you’ve just added your first Quicken account!
If you want to set up more accounts, click Add another account. If you don’t, no problem; you can always add more accounts later.
Quicken has made the material on this blog available for informational purposes only. Use of this website constitutes agreement to our Terms of Use and Privacy Policy. Quicken does not offer advisory or brokerage services, does not recommend the purchase or sale of any particular securities or other investments, and does not offer tax advice. For any such advice, please consult a professional.


