Overview
If you are coming from Quicken for Windows to Quicken for Mac, we can help you get your file ready for the switch.
Before you begin
Here are some important bits of information before you start the conversion process:
You'll want to Validate your file in Quicken for Windows first. You can do this by following these steps:
Click on File on the top menu bar, then select Validate and Repair File....
Put a check next to Validate file.
Click OK.
Always check the account balances before and after the conversion. If your data doesn't match, be sure to see which account is in error and what transactions are not showing. Then, manually add the transactions that are missing.
Invoices created in Quicken for Windows Business & Personal will not carry over to any version of Quicken for Mac.
Attachments in a Quicken for Windows data file will not carry over when converting to Quicken for Mac. For a full list of items that will not carry over,
click here .If you need instructions on moving your Quicken data files from one computer to another,
click here .
Instructions
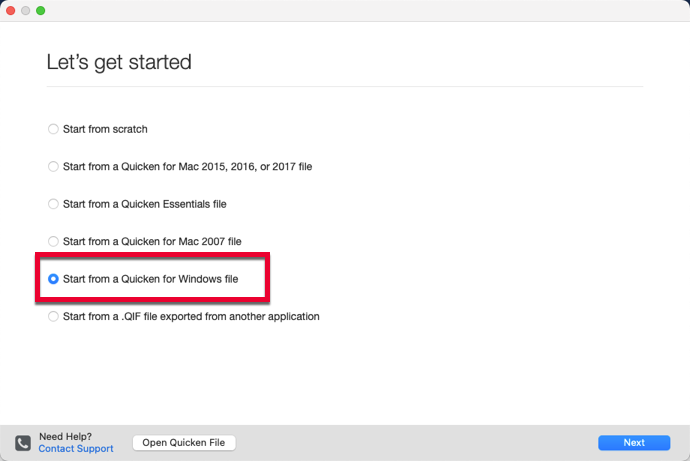
1. Open your new Quicken for Mac software on your Mac computer, select Start from a Quicken for Windows file and click Next.
How can we help?
✖Still need help? Contact Us
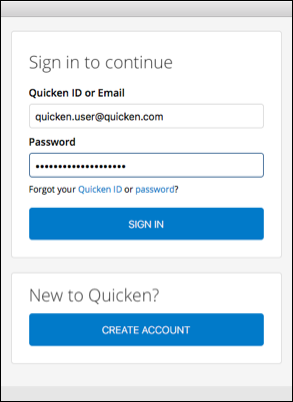
2. If prompted, sign in using your Quicken ID, or create a Quicken ID.
How can we help?
✖Still need help? Contact Us
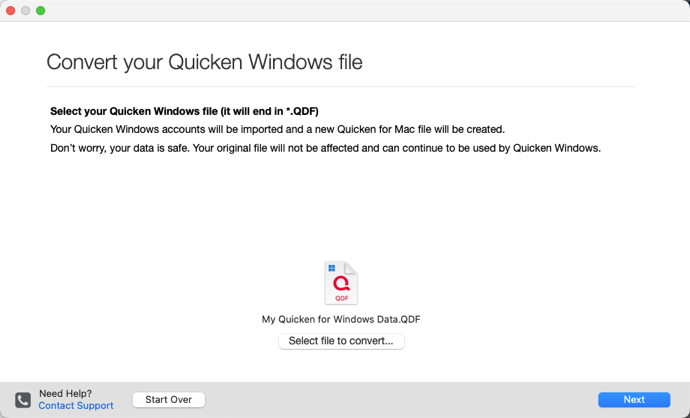
3. Click Select file to convert... and locate the Quicken for Windows data file (.QDF file) you wish to import into Quicken for Mac. Then, click Next.
How can we help?
✖Still need help? Contact Us
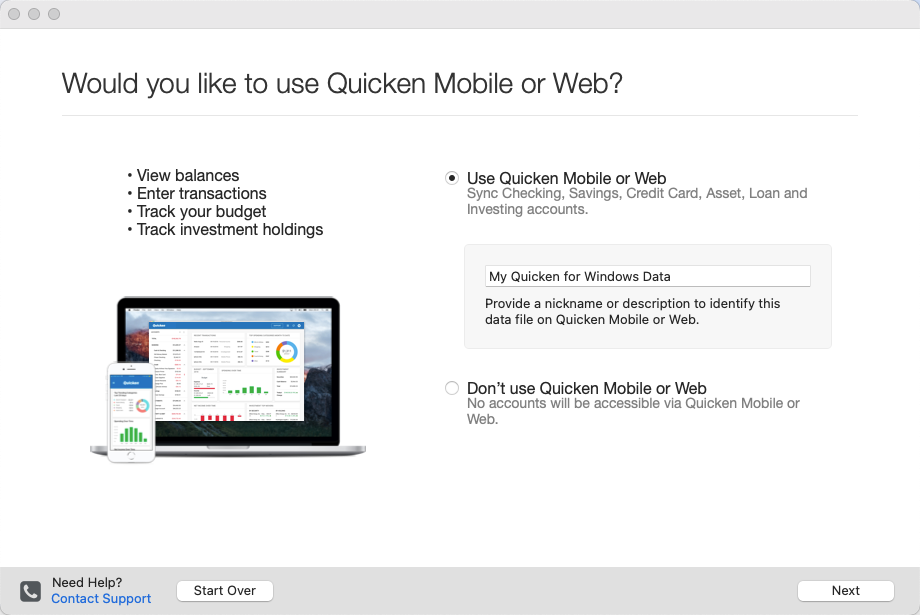
4. Select your Quicken Mobile & Web preferences.
How can we help?
✖Still need help? Contact Us
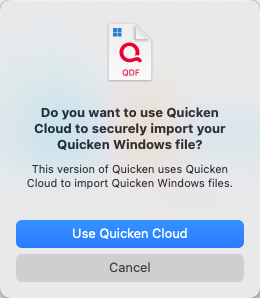
5. When prompted to confirm if you want to use the Quicken Cloud converter, click Use Quicken Cloud.
How can we help?
✖Still need help? Contact Us
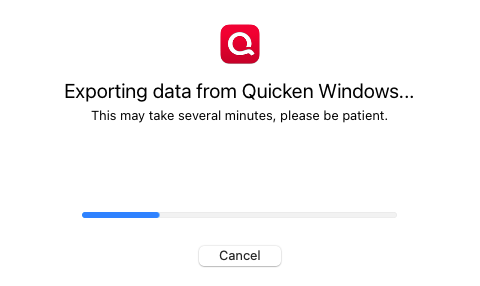
6. The process will continue automatically after you initiate the Quicken Cloud converter. Please note, the conversion may take several minutes depending on the size of the data file. In some cases, this process can take up to an hour.
How can we help?
✖Still need help? Contact Us
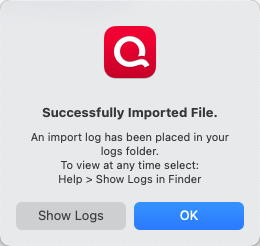
7. Lastly, you will see the "Successfully Imported File" message when the conversion is complete.
How can we help?
✖Still need help? Contact Us
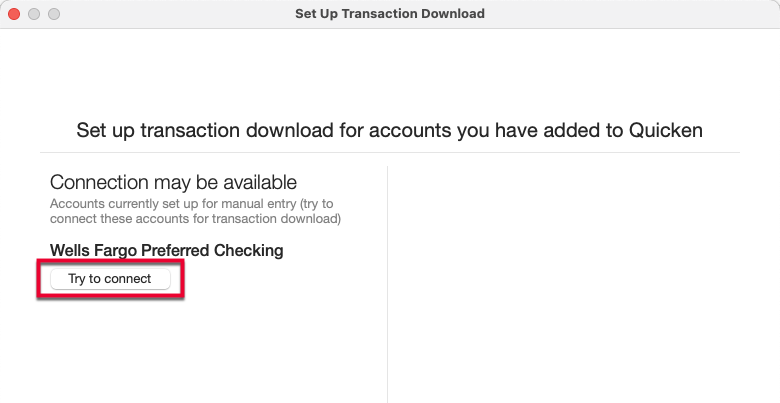
You may need to reconnect your accounts for transaction download in the new Mac file. You can start the reconnection process by clicking Try to connect.
How can we help?
✖Still need help? Contact Us
Data file passwords: If you used a data file password before the conversion, you will need to set up a new password after converting to Mac. For instructions,
