Thank you for choosing Quicken for Windows!
In this guide, you’ll find out how to:
Activate your Quicken membership
Purchases from Quicken.com
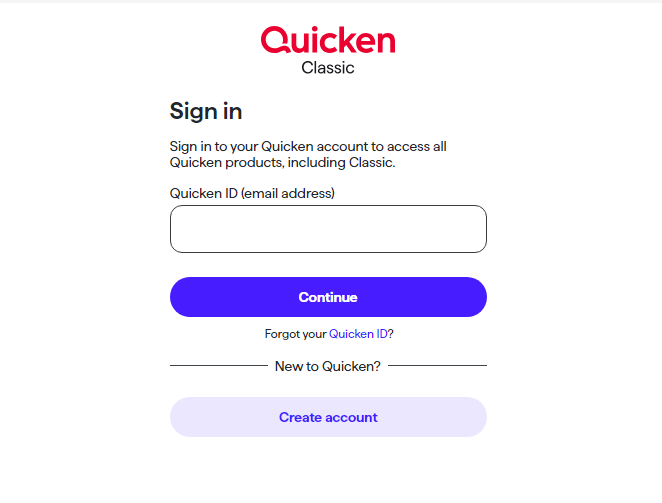
When you purchase a Quicken subscription from Quicken.com, your purchase requires that you create a Quicken ID or use your existing Quicken ID. This Quicken ID is associated with your subscription membership, so you’ll use this ID to activate Quicken.
How can we help?
✖Still need help? Contact Us
After you sign in with your Quicken ID, your membership is activated.
Purchases from a retailer (not Quicken.com) – a boxed version or download
1. On your computer, go to:
2. Once you have Quicken installed on your computer, sign in or create your Quicken ID to set up your profile.
If you have previously used the Subscription Release of Quicken, use the same ID to log in.
How can we help?
✖Still need help? Contact Us
3. When prompted, follow the on-screen instructions to enter your 16-digit activation code.
Set up your Quicken Profile
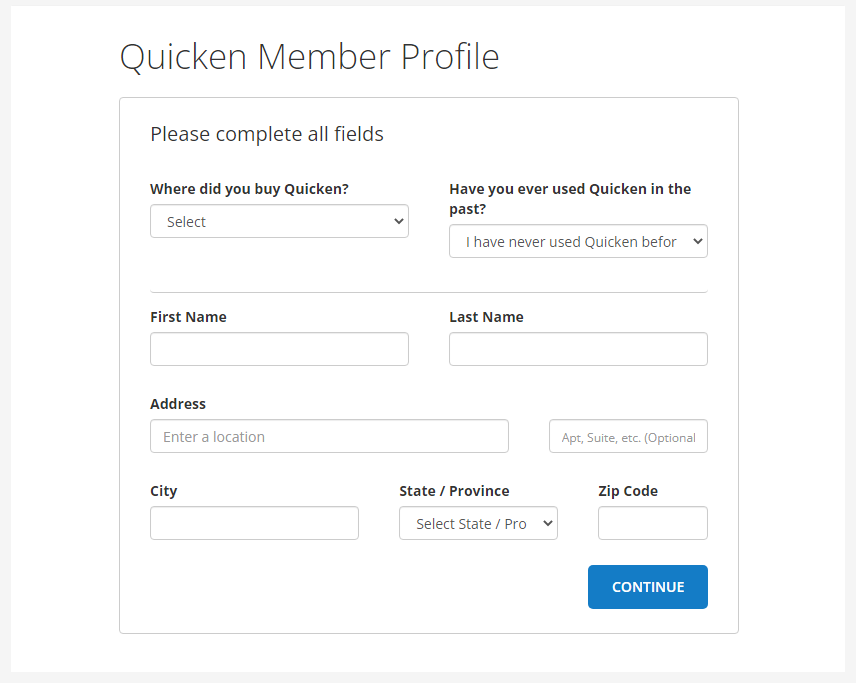
Once you’ve activated your Quicken Membership, you’ll update your Quicken profile and click Continue.
How can we help?
✖Still need help? Contact Us
If prompted, choose whether you want to sync your Quicken data with the mobile app and Quicken on the web. To enable syncing, select Use Mobile & Web and enter a friendly file name. This is especially helpful if you plan to sync multiple Quicken files.
If you don't want to enable syncing yet, select Don't Use Mobile & Web. You can set up syncing later at any time.
Set up your first account
To add an account, simply tell Quicken where you bank or invest. Quicken will connect to your financial institution, download your transactions, and help you track your spending. Once your account is connected, you can also generate reports for income, spending, taxes, and investment performance.
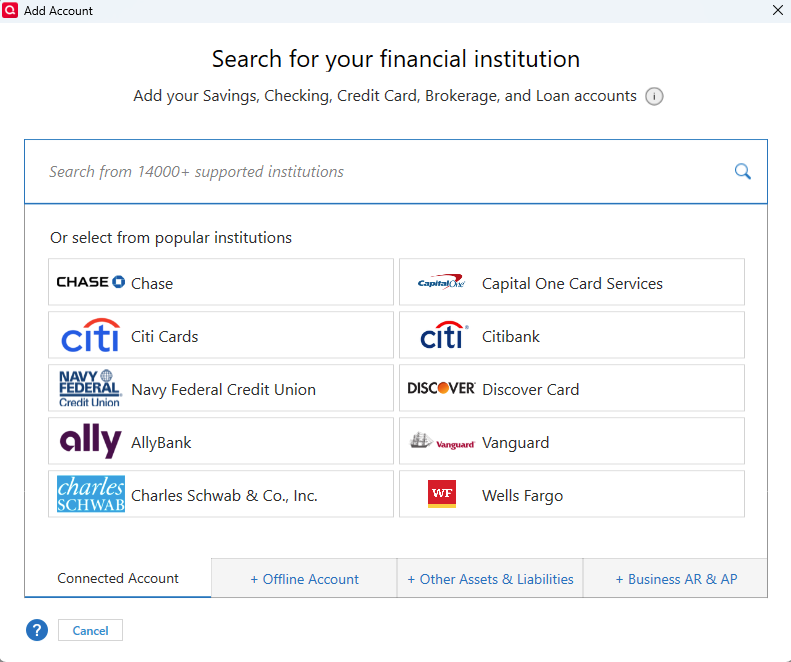
Click Add Account. You can also skip this step and add your first account later by clicking the plus sign button above the Account List on the Home page.
Enter or choose the name of your financial institution (if you have more than one, don’t worry—you can add more accounts later).
How can we help?
✖Still need help? Contact Us
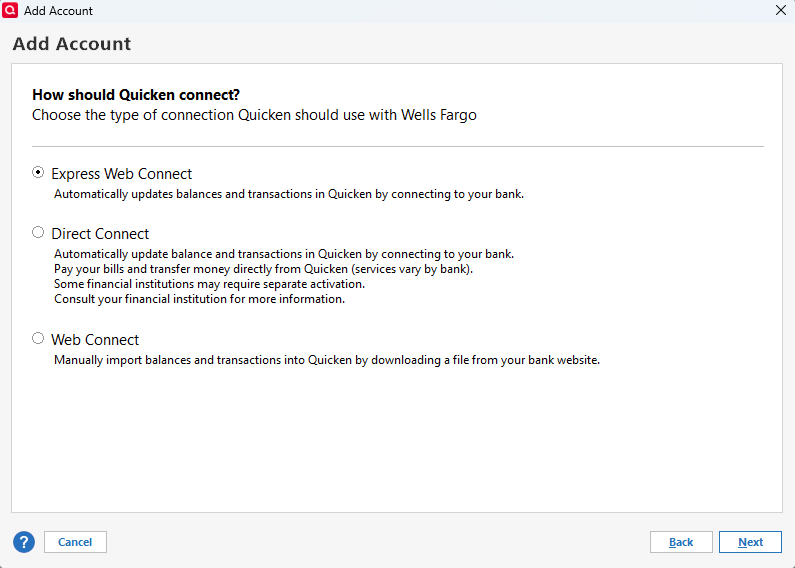
If your financial institution supports multiple connection methods, Quicken will prompt you to choose one. If available, you can select Direct Connect, though some financial institutions may charge a fee for this service. Contact your financial institution to confirm availability and any setup requirements.
How can we help?
✖Still need help? Contact Us
Enter your bank sign-in information. Usually, this is the same login you use for your bank’s website.
If you'd like Quicken to remember your sign-in credentials, select Save this password. The first time you do this, Quicken will create a Password Vault, where you can securely store your financial institution passwords. You'll be prompted to create a separate password for the vault. Once your passwords are saved, you can update all of your connected accounts with a single click.
Click Connect
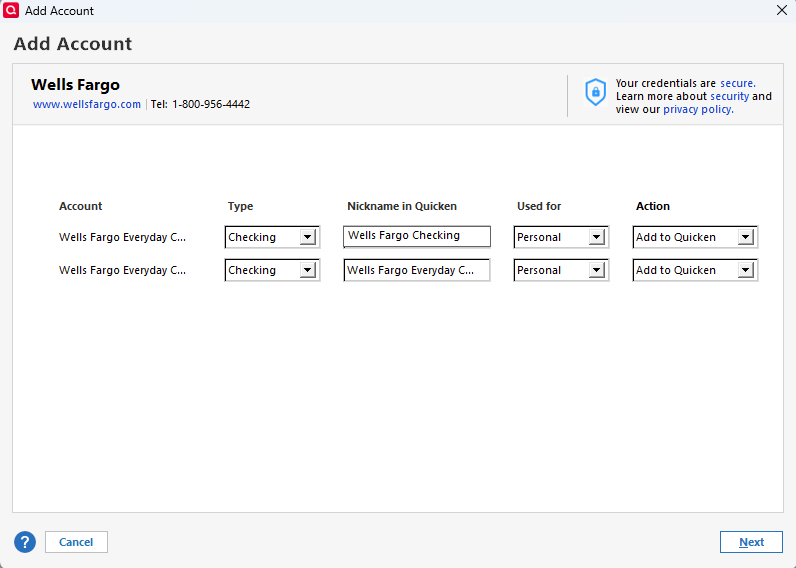
If you like, you can add a nickname for your account. If there are accounts you don’t want to add to Quicken, select Don't add to Quicken instead of Add to Quicken.
How can we help?
✖Still need help? Contact Us
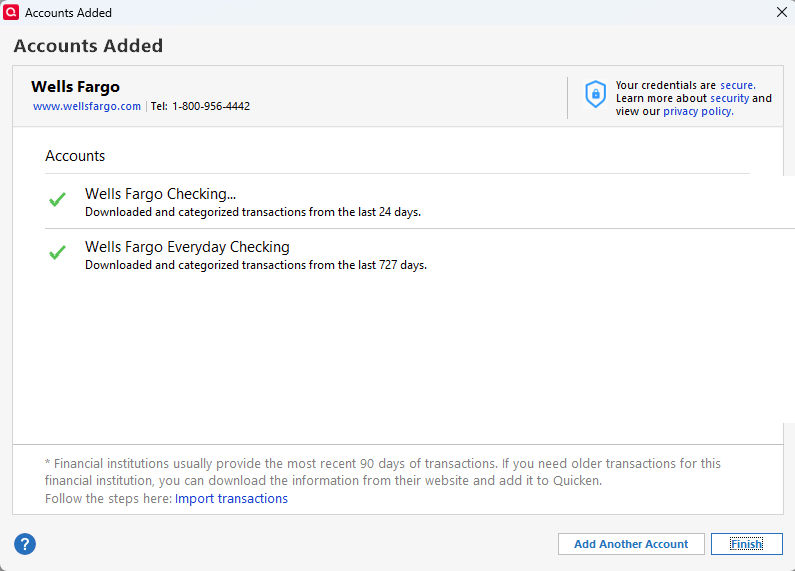
Click Next, then Finish. Quicken will add your accounts and download available transactions.
Note: Quicken can typically download 30–200 days of transaction history, depending on your financial institution. If you need older transactions, contact your financial institution to see if they can be downloaded.
How can we help?
✖Still need help? Contact Us
Congratulations! You’ve just added your first Quicken account!
If you'd like to add more accounts, use the Add Account icon on the Home page or select Tools > Add Account. If not, you can always add additional accounts later.
Set your Quicken Preferences
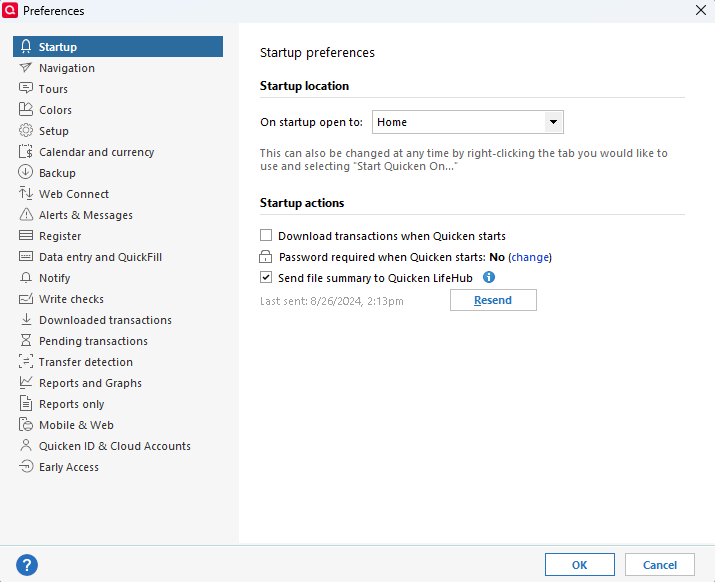
You can access the Preferences menu by going to Edit > Preferences.
How can we help?
✖Still need help? Contact Us
For more information on the various preferences you can change,
Take a tour of Quicken
Quicken is designed to make your day-to-day tasks as easy as possible. Here’s a quick introduction to the components and tools you’ll use very often.
Panels
The account bar is a list of all the accounts you’ve added to Quicken. |
A register is a list of transactions added to an account in Quicken. |
The menu bar displays all the tabs to access different features in Quicken. |
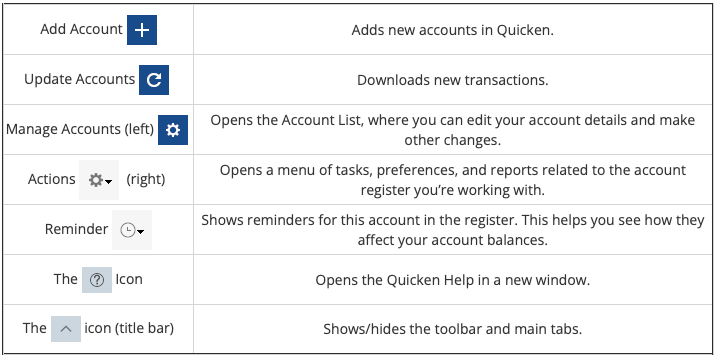
Icons
How can we help?
✖Still need help? Contact Us
Basic Tasks
Click the account name in the account bar to open its register. |
Click a transaction in a register to make changes, or click a blank line to manually enter a new transaction. |
Click All Transactions to view all the transactions in all accounts in Quicken. |
Click the tabs to access tools and features organized around common financial activities. |
Click Help to learn more about using Quicken. |
On the upper right side of the Quicken register window, search for a transaction. |
Update your accounts
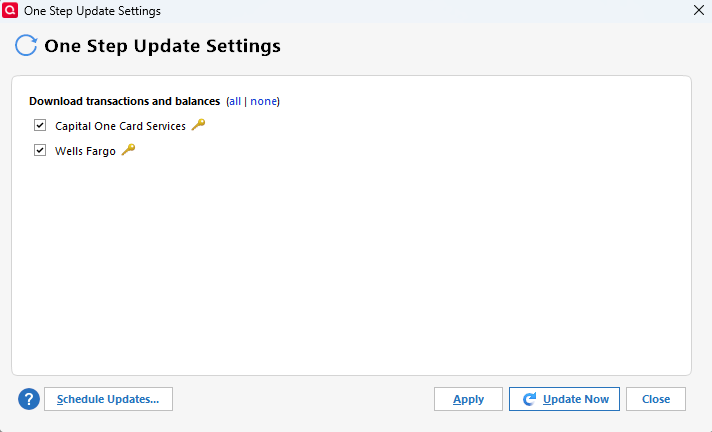
Now that your account is set up, you'll want to keep it up to date by regularly downloading the latest transactions.
Note: If you selected Save this password during setup, you'll only need to enter your Password Vault password when updating your accounts.
How can we help?
✖Still need help? Contact Us
Click Update Now. Quicken downloads all new transactions and updates your account balances.
Categorize your transactions
Categorizing your transactions helps you see where you’re spending your money. The good news is that Quicken does most of this work automatically for you!
Quicken assigns categories to your transactions when it downloads them from your bank. For example, if you used your ATM card at Kroger, Quicken knows that Kroger is a grocery store, and it automatically assigns the category Food & Dining: Groceries to the transaction.
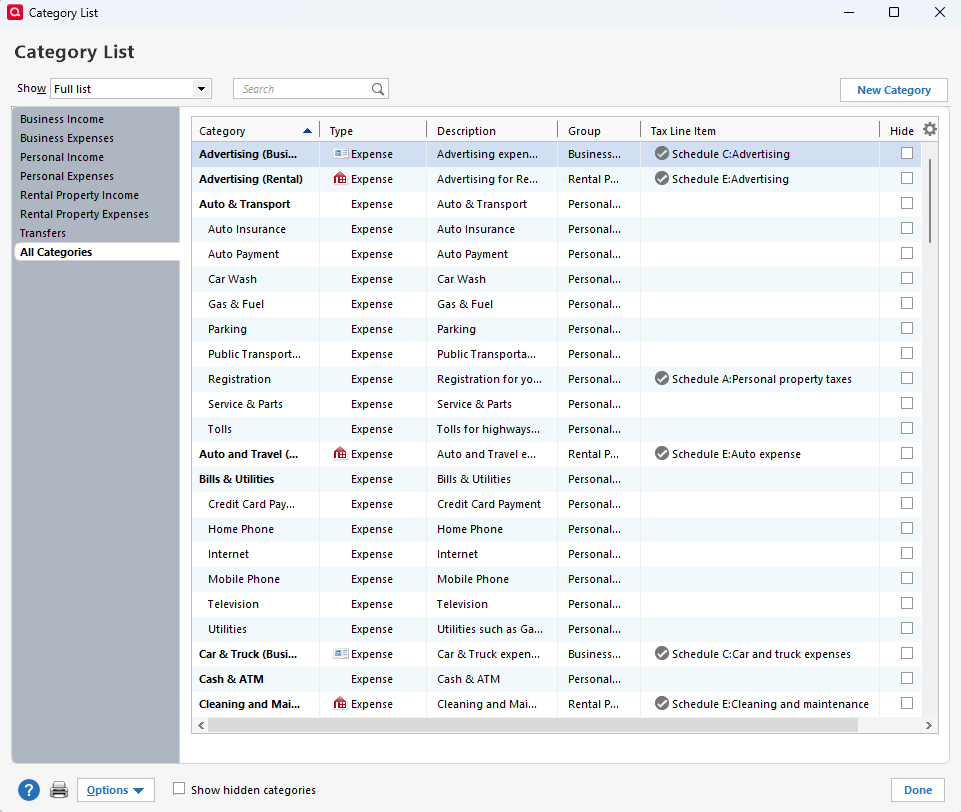
In most cases, Quicken can accurately guess the category. In some cases, however, it doesn’t recognize the transaction the first time — for example, your rent check. Quicken also might assign a category to a transaction that you don’t want — for example, during that trip to Kroger you may have bought pet food, which you want to track under the category Pets: Pet Food & Supplies instead of Food & Dining: Groceries. Naturally, you’ll want to assign the correct categories to your transactions. Here’s how you can categorize your transactions on the Spending tab.
How can we help?
✖Still need help? Contact Us
If the category you want isn’t in the list, click the New Category button.
Set up your bills and income reminders
Beyond tracking your spending, Quicken actually makes it easier to spend your money. And we mean that in a good way!
If you’re like most people, you have the same bills to pay every month. If you tell Quicken what your bills are, and when you expect income, it can remind you when your bills are due, and project your account balances into the future. This will help you avoid late fees and overdraft charges.
Here’s how:
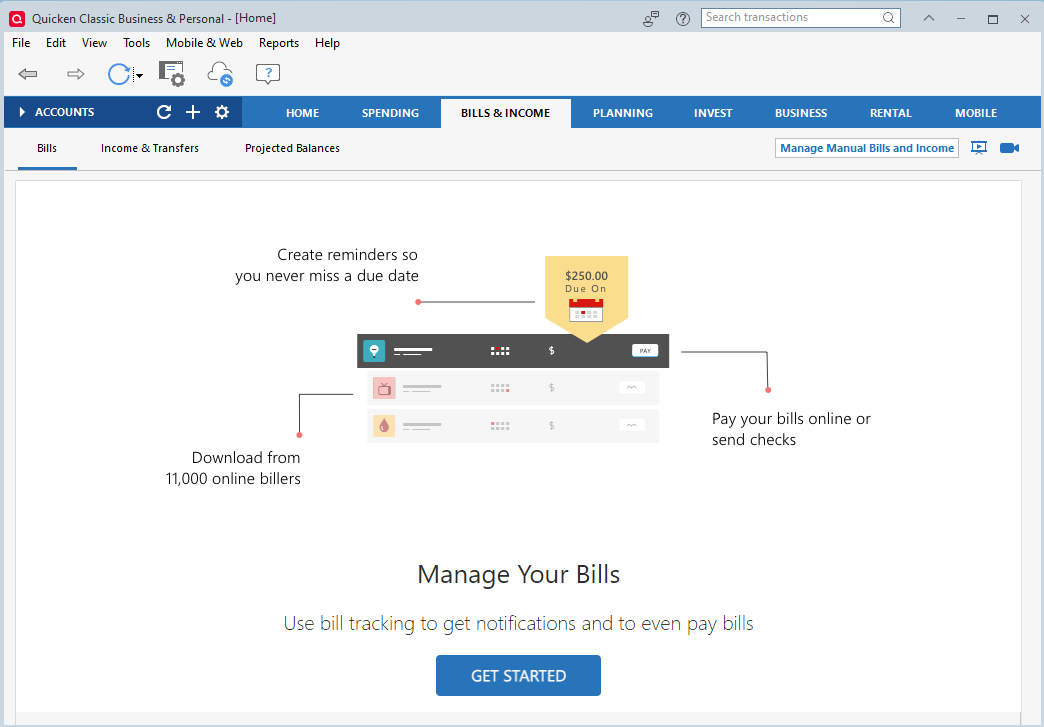
Click on Bills & Income tab
Click on Get Started in the Bills tab
How can we help?
✖Still need help? Contact Us
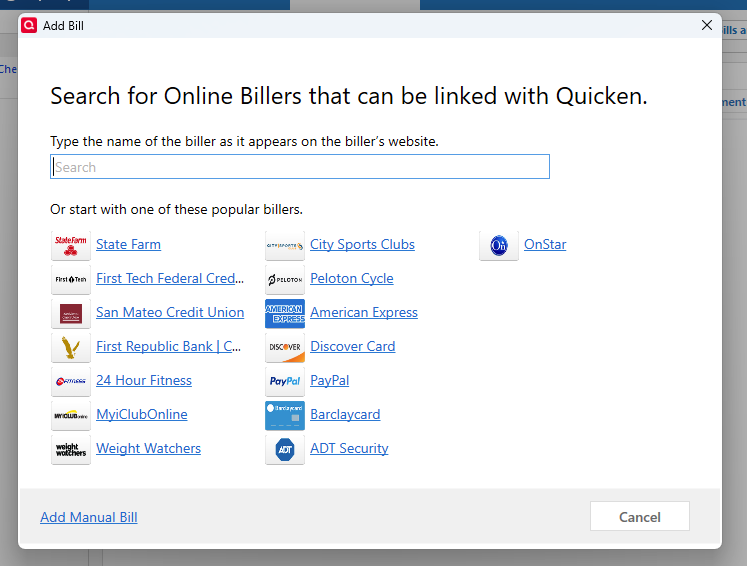
Select ‘Online bill’ in the pop-up that appears
Choose your biller and enter the credentials in the screens that follow
How can we help?
✖Still need help? Contact Us
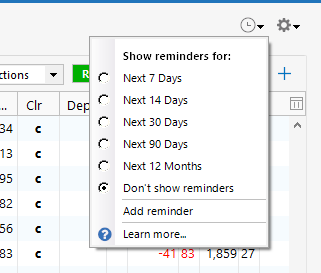
After you set up your bill or income reminders, you can choose to show them in your register, so that you can see what impact your planned spending will have on your account balance. You can do this by clicking on the clock icon at the top of the register.
How can we help?
✖Still need help? Contact Us
Create a budget
If you’ve been following along and setting up Quicken as you work through this guide, you now know where your money is going, and where you stand with your upcoming bills and income. Knowing these critical facts about your finances sets the stage for the next huge benefit of Quicken: keeping your spending in line with your income.
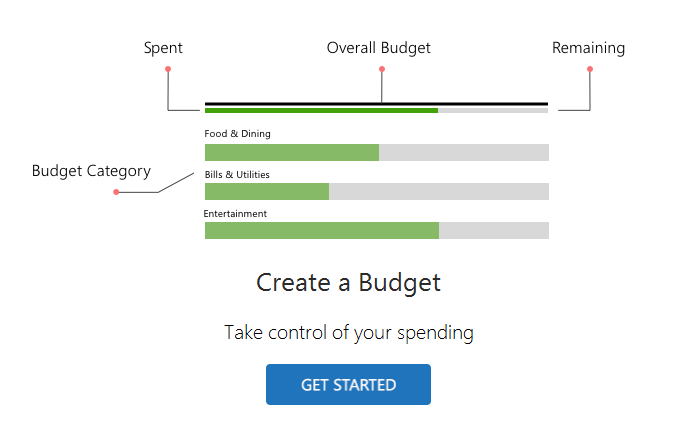
How does Quicken do it? A section on the Home tab makes it easy to see if you’re coming in under your target or if you’re going over budget.
How can we help?
✖Still need help? Contact Us
Enter a name for your budget and then OK. Quicken automatically creates a budget for your recurring personal expense categories.
When you’ve finished, the Budget Your Spending section on the Home tab shows you how you’re doing with your overall spending.
To customize your budget (choose amounts and categories to budget for), just click the Planning tab.
Use the Home tab
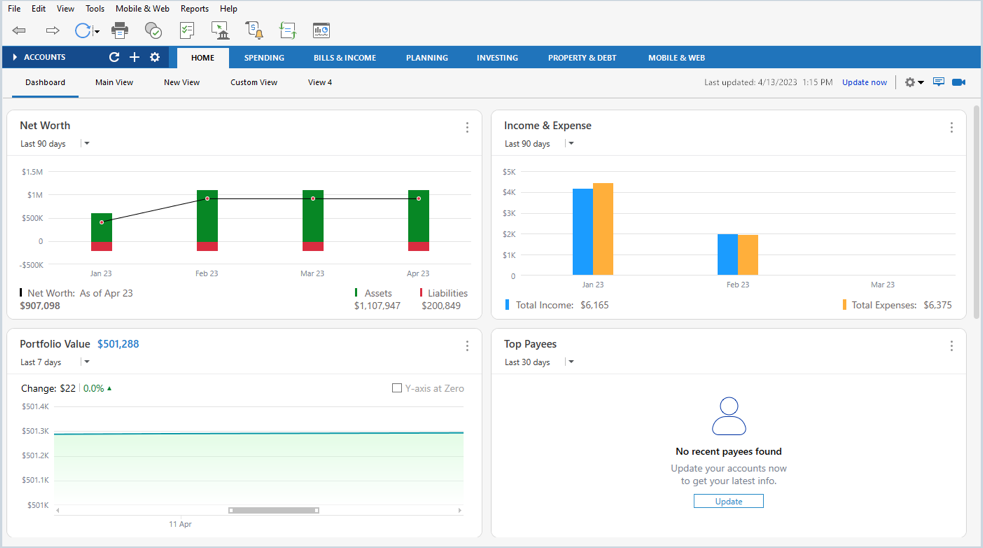
The Home tab is a dashboard where you can track your finances and stay on top of your bills.
Quicken gives you the flexibility to customize the default Main View as well as add more views. Simply click Customize and enter your preferences.
How can we help?
✖Still need help? Contact Us
After you add your accounts, categorize your transactions, and add your bills and a budget, you can track all of these at a glance on the Home tab to get a quick snapshot of how you’re doing.
Use Quicken on your phone, tablet, or the Web
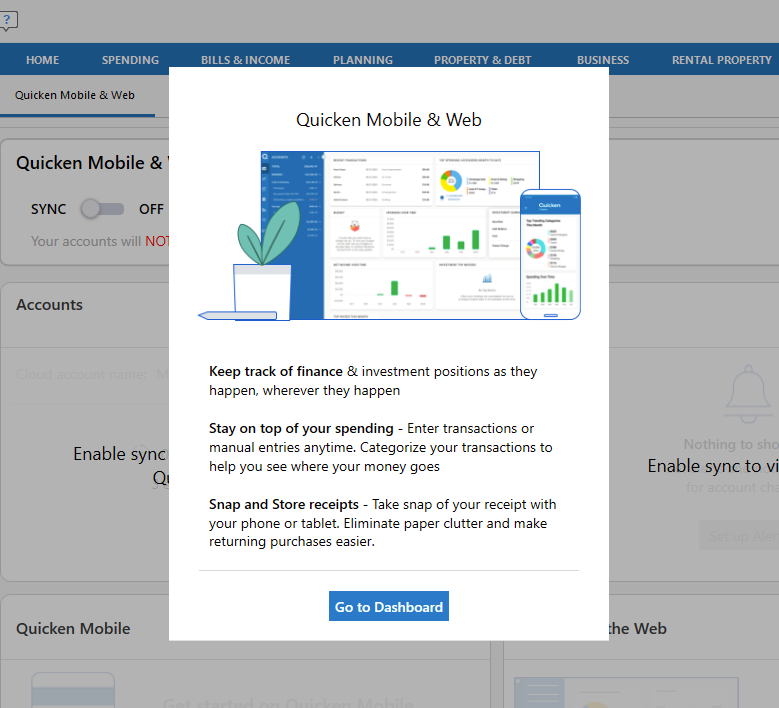
Quicken on the Web and Quicken Mobile App (iPhone®, iPad®, Android™) syncs with your desktop data and makes keeping track of your money easy while you’re on the go. You can also receive alerts and notifications to help monitor your account balances, fees, and spending patterns. All of these alerts are customizable.
To get started, go to the Mobile & Web tab:
How can we help?
✖Still need help? Contact Us
Select the checking, savings, credit, investment, or cash accounts you’d like to see on the Quicken Mobile App.